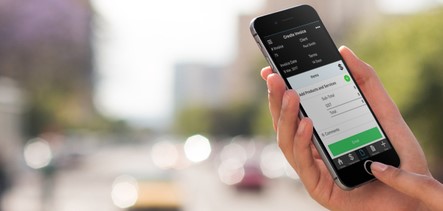
Sending your first invoice can be a liberating experience, you are now ready for action and it’s the first step to getting payments through the door.
As Mark Twain said, “The secret to getting ahead is getting started”, here are the four simple steps you need to send your first invoice using the Solo & Smart App. If you don’t have the App yet you can download it from the Apple or Android app stores.
Once your invoice has been created you will be able to monitor its progress and keep track of any unpaid invoices.
-
Start a new invoice
- iPhone & Android: click on the plus symbol in the bottom menu bar and select invoice from the pop-up menu.
- Web/Desktop: click on the ‘Invoices’ tab in the side menu bar and select ‘Create Invoice’.
-
Add your client
- iPhone & Android: Select the red box in the top right of the screen to add your client. Either choose from your list of existing clients or add a new client.
- Web/Desktop: from the pop-up menu select your client from your list of existing clients or add a new client.
-
Add your product/service
- iPhone & Android: Click the green plus symbol to add a product or service to the invoice. Choose an existing item or create a new one, you can then add a description, charge rate and number of units.
- Web/Desktop: from the pop-up menu select your item from the list or add a new item with a description, charge rate and number of units.
-
Send your invoice
- iPhone & Android: Click ‘Save & Send’ to send your invoice or choose from other options by clicking on the three dots in the top right of the screen.
- Web/Desktop: Click ‘Save’ to record your invoice and then click ‘Email’ to send the invoice to your client, other options are available.
Recording an invoice as paid can be done by tapping the ‘paid’ button on any device. If you are a Thrive user your payments will automatically be recorded and you can link them up to your invoices.
Need more help? Send us a message


